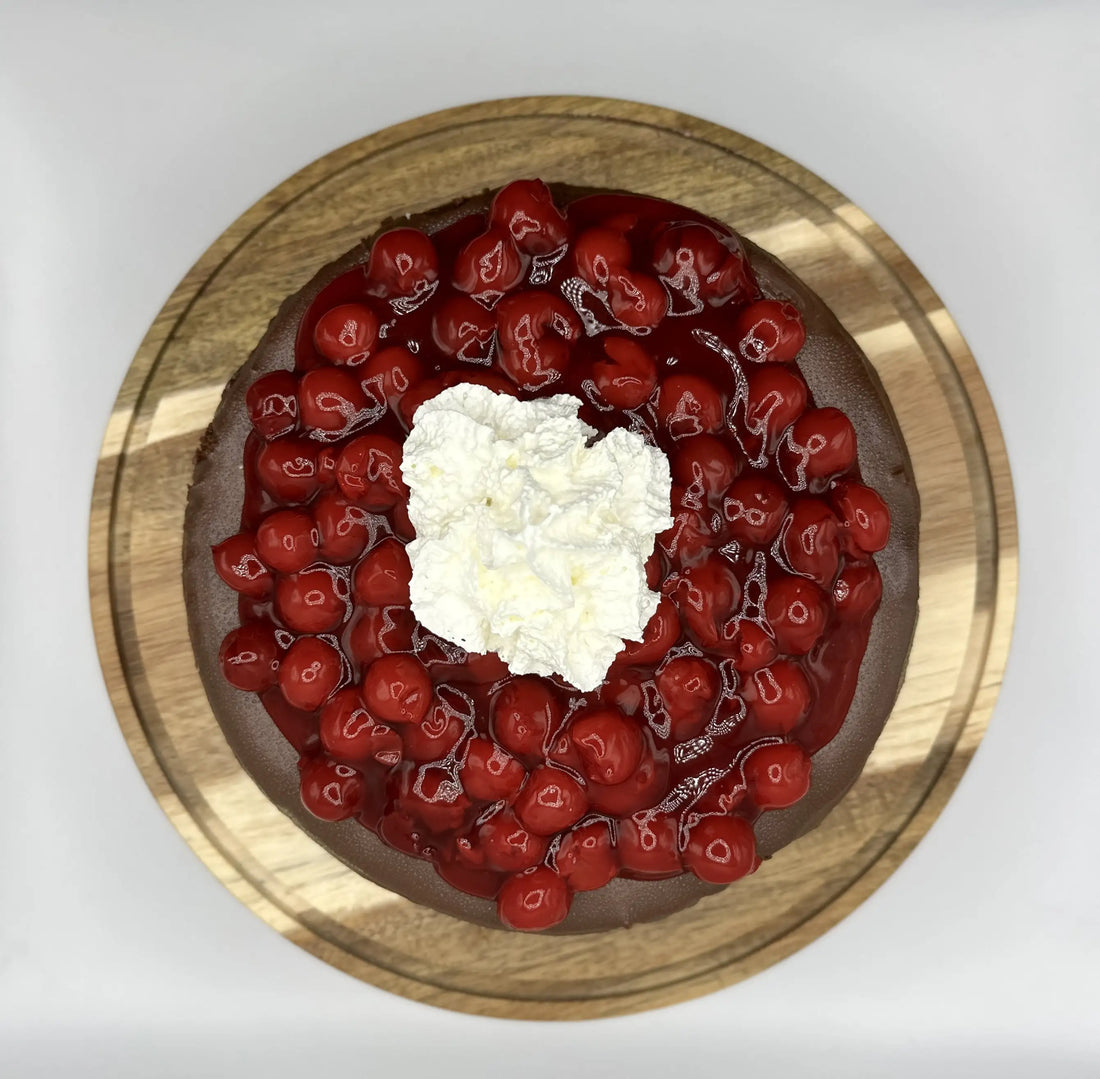
Christmas and New Years are all about chocolate. And chocolate cheesecake topped with sweet and tart berries is an unbeatable dessert for your holiday festivities.
This recipe is adapted from Baker by Nature’s Ultimate Chocolate Cheesecake - so go check out their amazing recipes for more baking inspiration!
Ingredients
For the Crust:
- 2 cups Dutch Waffle Company No-Bake Stroopwafel Pie Crust
- 6 tbsp unsalted butter, melted
For the Chocolate Cheesecake:
- 2 cups bittersweet chocolate, coarsely chopped (we prefer chocolate bars to chocolate chips for a more luxurious flavor)
- 1 ½ lb. full-fat cream cheese, at room temperature
- 1 cup granulated sugar
- ¼ cup light brown sugar, packed
- 3 tbsp unsweetened natural cocoa powder
- 4 large eggs plus 2 egg yolks, at room temperature
- ¾ cup heavy cream, at room temperature
- 1 tsp vanilla extract
For the Chocolate Ganache:
- 1 ⅓ cups semi-sweet chocolate, finely chopped (we prefer chocolate bars to chocolate chips for a more luxurious flavor)
- 1 ¼ cups heavy cream
- ¼ cup unsalted butter, at room temperature, cut into cubes
For the Berry Pie Topping (Pick One!):
- Cherry Pie Topping
- Raspberry Pie Topping
- Blackberry Pie Topping
- Strawberry Pie Topping
- Mixed Berry Pie Topping
Topping Alternatives:
Don’t want a berry topping? No problem! Some people prefer the plain chocolate cheesecake with a dollop of whipped cream, crushed nuts, chopped mint, or even a sprinkle of cinnamon. The choice is yours!
Instructions
1. Preheat the Oven:
Preheat your oven to 325°F (163°C).
2. Prepare the Crust:
Grease the bottom and sides of a 9-inch springform pan.
In a medium mixing bowl, combine the Dutch Waffle Company No-Bake Stroopwafel Pie Crust and melted butter. Press the mixture firmly into the bottom of the pan using the back of a spoon to create a flat, even crust.
Set the crust aside.
3. Make the Chocolate Cheesecake Filling:
- In a medium pot, fill one-third of the way with water and bring it to a simmer over medium heat.
- Place a heatproof bowl on top of the pot (make sure the bowl doesn’t touch the water). Add the chopped bittersweet chocolate to the bowl and stir occasionally until fully melted. Once melted, remove the pot from the heat but leave the bowl over the warm water to keep the chocolate soft. Set aside.
- In the bowl of a food processor (or a high-powered blender), pulse the cream cheese until smooth, scraping down the sides as needed (about 2 minutes). Add the granulated sugar, brown sugar, and cocoa powder and blend until fully combined. Add the eggs, egg yolks, and heavy cream and pulse just until combined, about 20 seconds. Fold in the melted chocolate, then add the vanilla extract and pulse for another 20 seconds.
- Remove the bowl from the food processor and use a rubber spatula to stir the filling a few times to ensure it’s evenly mixed.
4. Bake the Cheesecake:
- Pour the cheesecake filling into the prepared crust.
- To create a water bath, place a large springform or baking pan on the oven rack beneath your cheesecake. Add ½ inch of water to the pan to prevent cracking and to keep the cheesecake moist during baking.
- Bake for about 1 hour and 5 minutes, or until the center is set but still slightly jiggly. The cheesecake will firm up as it cools.
- Remove the cheesecake from the oven and place the pan on a wire rack. Run a knife around the edge of the cheesecake to loosen it from the sides of the pan. Allow it to cool completely, then refrigerate for at least 6 hours (or overnight) to set fully.
5. Make the Chocolate Ganache:
- Add the chopped semi-sweet chocolate to a medium bowl and set aside.
- In a small saucepan (au-bain-marie, a saucepan in another saucepan filled with water) over medium heat, bring the heavy cream to a simmer. Pour half of the cream over the chopped chocolate and let it sit for 1 minute. Stir gently until the chocolate is melted, then gradually add the remaining cream, whisking until smooth and glossy.
- Stir in the butter and mix until fully incorporated. The ganache will be dark and glossy. Let it sit at room temperature to cool and thicken slightly.
6. Assemble the Cheesecake:
- Once the cheesecake is fully chilled, pour the ganache over the top, spreading it evenly with a spatula.
- Let the ganache set for about 1 hour at room temperature.
7. Add the Topping:
When you’re ready to serve your cheesecake, top it with the berry pie topping of your choice (or any of your favorite toppings). If you prefer a mix of berries, feel free to combine them for an extra burst of flavor!
8. Serve:
To serve, slice the cheesecake with a thin-bladed sharp knife. Wipe the knife clean between cuts to create neat slices. Store any leftovers loosely covered in the refrigerator for up to 5 days.
Tips and Tricks
Keep the chocolate layer thin: While it’s tempting to add more ganache, this cheesecake is already rich. A thin layer of ganache is all you need to finish it off perfectly.
Make Mini Cheesecakes: Want to try something different? Make individual mini cheesecakes! They’re perfect for portion control and allow you to experiment with different toppings for each serving. Try crushed Andes Mints, crushed nuts, or different pie toppings like cherry or blackberry.

To make your mini’s you’ll just need some cupcake liners and a cupcake or muffin pan. Otherwise, the recipe is the same. Just divide your chocolate evenly among the smaller portions!
Quality Chocolate Matters: For the best flavor, always choose high-quality chocolate bars over chips. It makes a big difference in both the filling and ganache.
Can I Freeze This Cheesecake? Yes! If you want to make it ahead of time, this cheesecake freezes beautifully. Just make sure to wrap it well in plastic wrap and aluminum foil (BEFORE adding your berry topping), and store it in the freezer for up to 2 months. Let it thaw in the fridge and add your berry topping before serving.

